Use tax return tracking to know where returns are in your office and to quickly give status updates to your clients.
Set Up Routing Sheets
Before tracking tax returns you must set up a routing sheet for individual and business tax returns. This is found in settings.
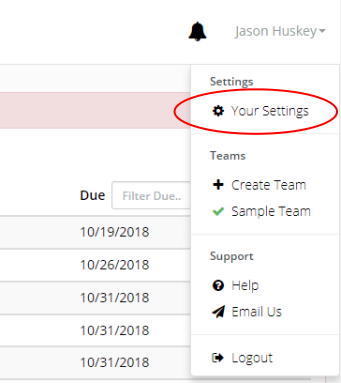
Click on your name in the upper right corner, then click Your Settings.
Click Individual Routing Sheet
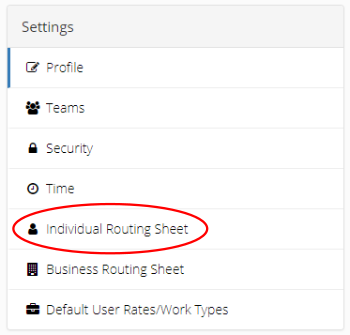
From this screen you can add, remove, and re-order events. Set it up to match the processes you follow in your office.
To re-order events just drag them to a new position.

Make sure to click SUBMIT CHANGES after you are done.
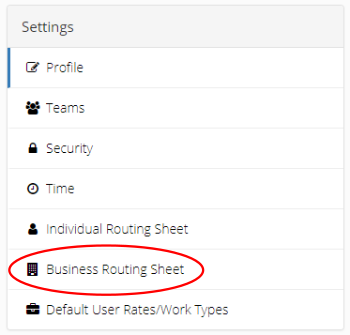
Now go set up the Business Routing Sheet the same way.
Assign Return Types to Clients
Choose a client and go to their client info page. You then need to make sure a return type is selected.
Click EDIT CLIENT

Scroll to the bottom of the form and choose 1040 as the return type.

Click SAVE CHANGES
You will now see a tax return tracking sheet on the left side of the screen. Choose a preparer by picking a name from the dropdown box.
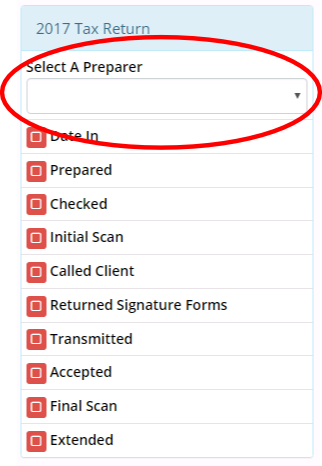
Whenever an event is completed just click on the red button beside it. The person’s name who completed that event will show up with a date.
Setup Your Dashboard
Go to your dashboard and scroll down to the My 1040 Stats box. Here we can add tax return events so that you can see returns that need to be completed.
Choose events in the dropdown box and click ADD.
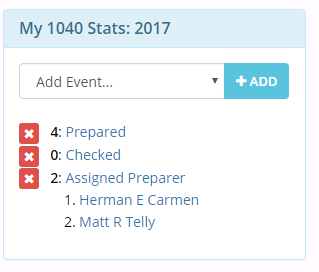
The “Assigned Preparer” event will show you all returns that are assigned to you but not yet prepared.
Now when a client calls for a status update on their return anyone in the office can easily look it up.